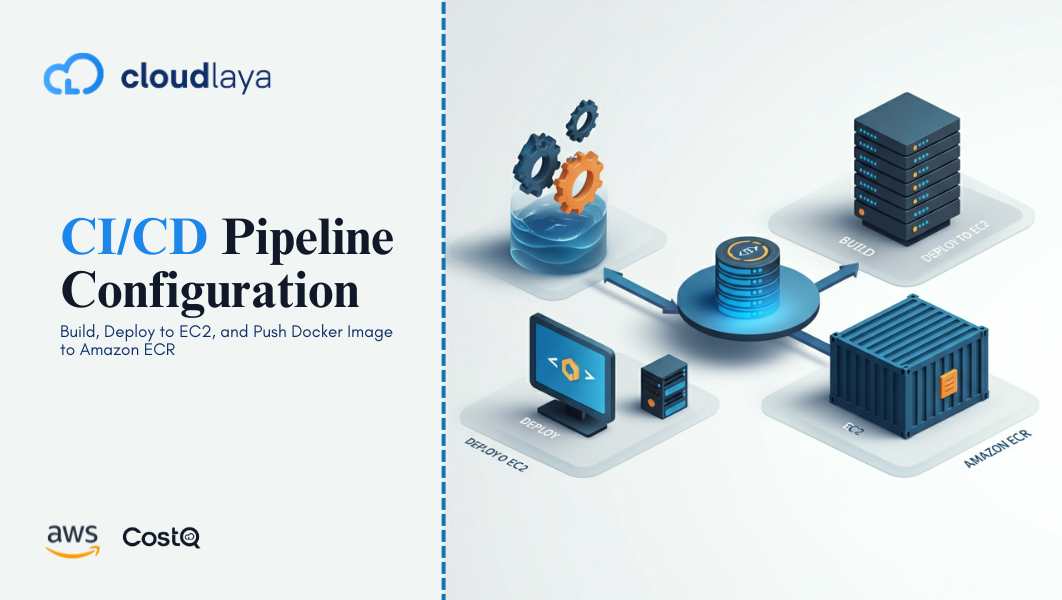
AWS Developer Tools: 5 Steps to Creating a Complete CI/CD Pipeline for Continuous Integration and Delivery (CI/CD) Configuration
As we all know that today’s world is deep into the software development scenario, Continuous Delivery (CD) and Continuous Integration (CI) are now vital processes to ensure rapid delivery of software of excellent quality. AWS includes an extensive set of tools for CI/CD pipeline setup that can automate the entire application creation, examination, and deploy process. Here, we can show how to apply AWS Developer Tools to set up a whole CI/CD pipeline in this blog.
Table of Contents
What Is CI/CD?
Let’s review briefly what CI/CD is before getting started with the setup:
- Continuous Integration (CI): The process of automatically applying modifications to code from various contributors into a shared repository is known as continuous integration (CI). In order to be sure that any issues are detected early, this is done often, often several times a day.
- Continuous Delivery (CD): CD is a CI plugin that, complying with successful integration, automates the delivery of applications to production environments. By ensuring that the code is always deployable, it allows for more rapid and reliable releases.
The infrastructure and services provided through AWS Developer Tools automate and optimize CI/CD procedures allows you to safely and quickly deploy.
CI/CD Developer Tools for AWS
AWS includes a number of services created particularly for CI/CD workflow carrying out, such as:
- AWS CodeCommit: For version control and cooperative software development, teams can host secure Git repositories using AWS CodeCommit, a fully managed source control solution.
- AWS CodeBuild: AWS CodeBuild is a fully managed build service that streamlines the process of creating deployable artifacts, automating tests, and compiling source code.
- AWS CodeDeploy: The completely managed deployment solution AWS CodeDeploy automates the deployment of applications to a variety of computing services, including on-premises servers, EC2, and Lambda.
- AWS CodePipeline: Software development processes such as build, test, and deployment are automated by AWS CodePipeline, a fully managed continuous integration and continuous delivery (CI/CD) service.
Let’s explore how to use these technologies to set up a full CI/CD pipeline.
Step 1: Create an AWS CodeCommit code repository.
Putting your application’s source code in a version control system is the initial step in establishing a CI/CD pipeline. With its easy integration with other AWS services, AWS CodeCommit serves as completely managed Git repository solution.
Steps:
- Establish a repository for CodeCommit:
- Open the Management Console for AWS.
- Select CodeCommit from the Developer Tools menu.
- Select “Create repository.“
- If you’d like, give your repository a name and a description.
- Open the Management Console for AWS.
- To initialize your repository, click Create.
- The repository is cloned:
- Use the Git URL that appears in the CodeCommit console to clone your code locally before pushing it to the repository.
- Use the Git URL that appears in the CodeCommit console to clone your code locally before pushing it to the repository.
Apply the following command:
git clone https://git-codecommit.us-west-2.amazonaws.com/v1/repos/your-repo-name
- Push your application code to the repository after adding it.
Step 2: Configure CodeBuild on AWS for Automated Builds
AWS CodeBuild is a fully managed build service that develops deployable artifacts, runs tests, and compiles your source code. Each time a change gets uploaded to your repository, CodeBuild can be inserted into your CI/CD pipeline to automatically build and test your application.
Steps:
- Establish a Build Project:
- Navigate to CodeBuild in the AWS Management Console.
- Click and Select “Create build project.”
- Name your project and select AWS CodeCommit as the source provider.
- Choose your branch and repository.
- You can use a buildspec.yml file under Build specifications to specify the build procedure. The instructions for building your application are contained in this file, which should be found at the root of your repository.
- Navigate to CodeBuild in the AWS Management Console.
Example: buildspec.yml:
version: 0.2

phases:
  install:
    commands:
      - echo Installing dependencies...
      - npm install
  build:
    commands:
      - echo Building the application...
      - npm run build

artifacts:
  files:
    - '**/*'
  base-directory: build
- setup a Service Position:
- When you set up CodeBuild for the first time, AWS will ask you to create a service role so that CodeBuild can access your resources.
- The role should be able to write logs to CloudWatch and read from CodeCommit.
- When you set up CodeBuild for the first time, AWS will ask you to create a service role so that CodeBuild can access your resources.
- Launch the Build:
- To begin the build process after the project has been established, click Start build. At this point, CodeBuild will install dependencies, grab the code from CodeCommit, build the application, and produce the build artifacts.
Step 3: Customize CodeDeploy on AWS to Deploy Applications
The process of deploying your application to different compute services, like EC2 instances, Lambda, or on-premises servers, is automated by AWS CodeDeploy. We’ll set up the application on Amazon EC2 instances for this example.
Steps:
- Use CodeDeploy to create an application.
- In the Management Console, select AWS CodeDeploy.
- After selecting the Compute platform (such as EC2/On-premises), click Create application.
- You should give the proper name.
- In the Management Console, select AWS CodeDeploy.
- Form a Group for Deployment:
- Decide one of your EC2 instances to use as the deployment target.
- Make that your EC2 instances are properly labeled and have the appropriate IAM roles and permissions in order to permit deployments.
- Make a deployment group specifically for the EC2 instances you wish to deploy to.
- Decide one of your EC2 instances to use as the deployment target.
- Describe the deployment requirements:
- A file called appspec.yml must be created in your repository. The deployment lifecycle is defined in this file, which also instructs CodeDeploy on how to set up and install your application on the EC2 instances.
- A file called appspec.yml must be created in your repository. The deployment lifecycle is defined in this file, which also instructs CodeDeploy on how to set up and install your application on the EC2 instances.
Example appspec.yml:
Version: 0.0
0S: Linux
files:
-source: /build/
destination: /var/www/myapp
hooks:
AfterInstall:
-location: scripts/after_install.sh
timeout: 180
Step 4: AWS CodePipeline can be used to create and configure the CI/CD pipeline.
After setting up the source repository (CodeCommit), build service (CodeBuild), and deployment service (CodeDeploy), you must use AWS CodePipeline to integrate these services into an entire CI/CD pipeline.
Steps:
- Create a Pipeline:
- Click “Create pipeline” after selecting AWS CodePipeline.
- Choose a service role and give your pipeline a name, or let AWS choose one for you.
- Click “Create pipeline” after selecting AWS CodePipeline.
- Add Source Stage:
- The source provider for the source stage, choose AWS CodeCommit.
- Choose the repository and branch you created earlier.
- Turn on webhook notifications so that when the repository has been changed, the pipeline starts functioning automatically.
- The source provider for the source stage, choose AWS CodeCommit.
- Add Build Stage:
- In the build stage, select AWS CodeBuild as the build provider.
- Choose the build project you created in the earlier step.
- In the build stage, select AWS CodeBuild as the build provider.
- Add Deploy Stage:
- Choose AWS CodeDeploy as the deploy provider during the deploy phase.
- Select the deployment group and application that you already configured.
- Choose AWS CodeDeploy as the deploy provider during the deploy phase.
- Review and Create the Pipeline:
- After reviewing the steps, select “Create pipeline.” Now, whenever updates are pushed to the CodeCommit repository, AWS will start the pipeline immediately.
- After reviewing the steps, select “Create pipeline.” Now, whenever updates are pushed to the CodeCommit repository, AWS will start the pipeline immediately.
Step 5: Monitor and Iterate
The pipeline will automatically begin creating, testing, and deploying your application whenever a new change occurs after it has been set up. The AWS Management Console allows you to keep an eye on the entire process and see the current state of every pipeline stage.
Monitoring Tools:
- AWS CloudWatch: It is an observability and monitoring tool that gathers and tracks metrics, logs, and events to give real-time insights into AWS resources, apps, and services.
- AWS CodePipeline Console: You can design, oversee, and visualize the phases and procedures of your continuous integration and continuous delivery (CI/CD) pipelines using the AWS CodePipeline Console user interface.
Conclusion
By automating and accelerating the lifespan of your applications, CI/CD pipeline implementation in AWS with AWS Developer Tools greatly simplifies the development process. Set up a robust, scalable, and economical CI/CD pipeline with AWS CodeCommit, CodeBuild, CodeDeploy, and CodePipeline to guarantee quicker, more dependable product deliveries.
Whether you are managing huge business applications or working on a small project, AWS Developer Tools can streamline and automate your build, test, and deployment procedures, enabling your team to produce high-caliber apps with speed and reliability.
These blogs may be helpful to you.
Develop a Scalable OTT Platform on AWS: Secure & Reliable 24/7
Unlocking Game-Changing Insights with Amazon Q: The Future of Business Intelligence

Devops Enthusiast