How to install WordPress on VPS from Digital Ocean?
WordPress is one of the most widely used content management tools used by millions of peoples around the world. So it is very much useful to have this application on your server. If you know how to manage your server on your own then you can use commands of your connection terminals and can install WordPress on your server but if you are unknown then the digital ocean also provides an easy way of installing WordPress on your server. You can literally install WordPress on VPS with few clicks. Complete the following steps to complete the installation process.
Step Wise Guide to install WordPress on VPS
Step 1: Log into your digital ocean account then click on the marketplace option under the discover tab.
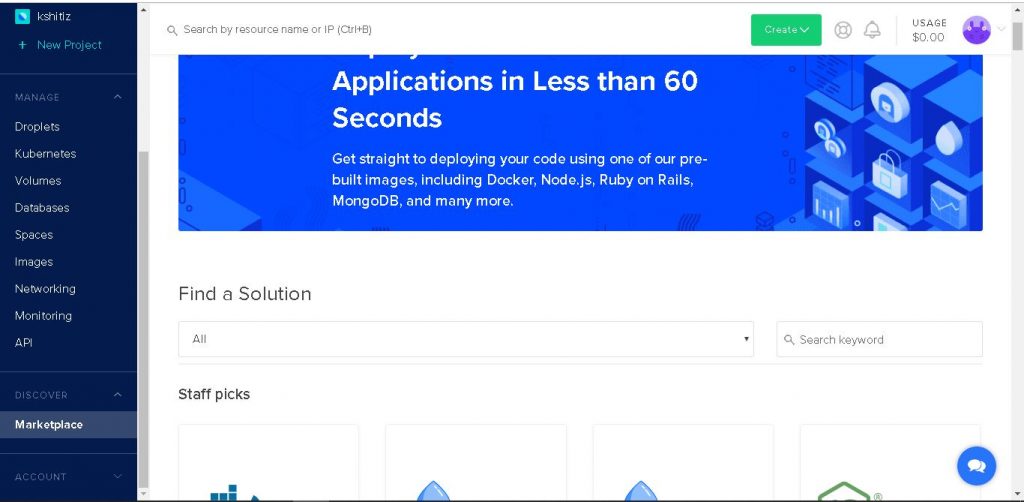
Step 2: Search “WordPress” in the search bar and press enter.
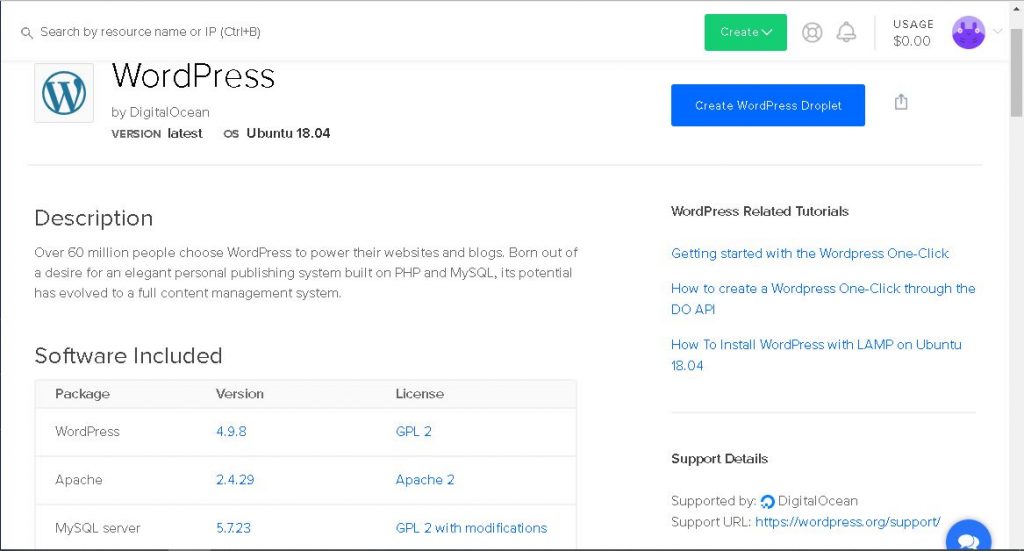
Step 3: After you click on the create WordPress droplet button you will see a configuration page where you can choose your preferred plan, data centers, and networking options.
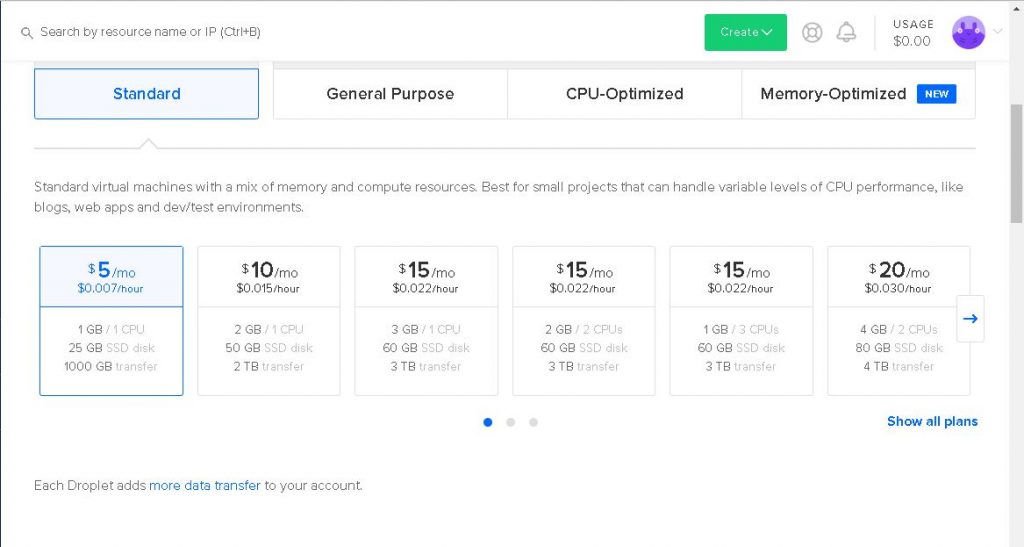
Step 4: After completing the configuration, click on the create droplet button to create the required WordPress droplet.
Once you complete these steps you will be mailed about the login credentials on your mail that you have registered on the digital ocean. Then you can log in to your server using your terminal or other application like PuTTY.
Step 1: Open your connecting tool (in this case PuTTY) and enter the IP address and click open.
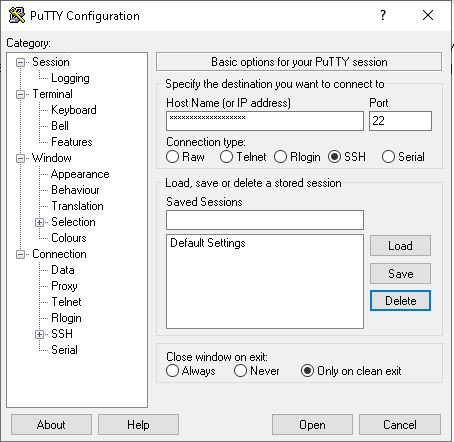
Step 2: Then a terminal will be opened and you will be asked to enter the username and password.
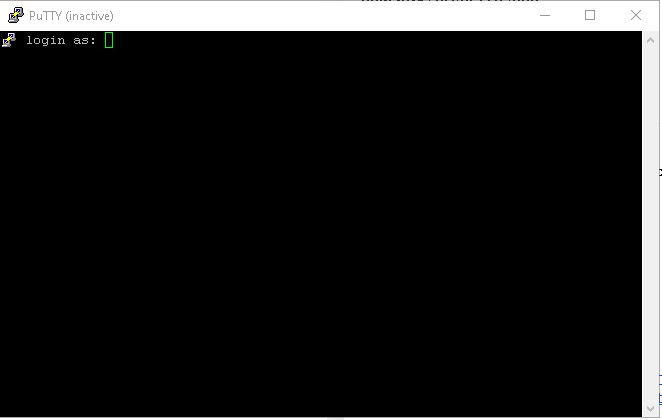
If this is your first time logging in then you will be asked to change the password and will also be asked to change other normal configuration.
With these steps, you can install WordPress to your virtual private server (VPS) on your own.
These processes can be confusing to users who are new to VPS so if you need any assistance, feel free to contact us. You can also remember us for domain registration, web hosting, and email hosting.

